Instagram のウィジェットは、FacebookやTwetterのように公式に提供されていないので、外部サービスをつかったりすることが多いみたいです。
そこで、APIからデータを取得して自前でHTMLを生成する方法を試しました。
必要なものは、
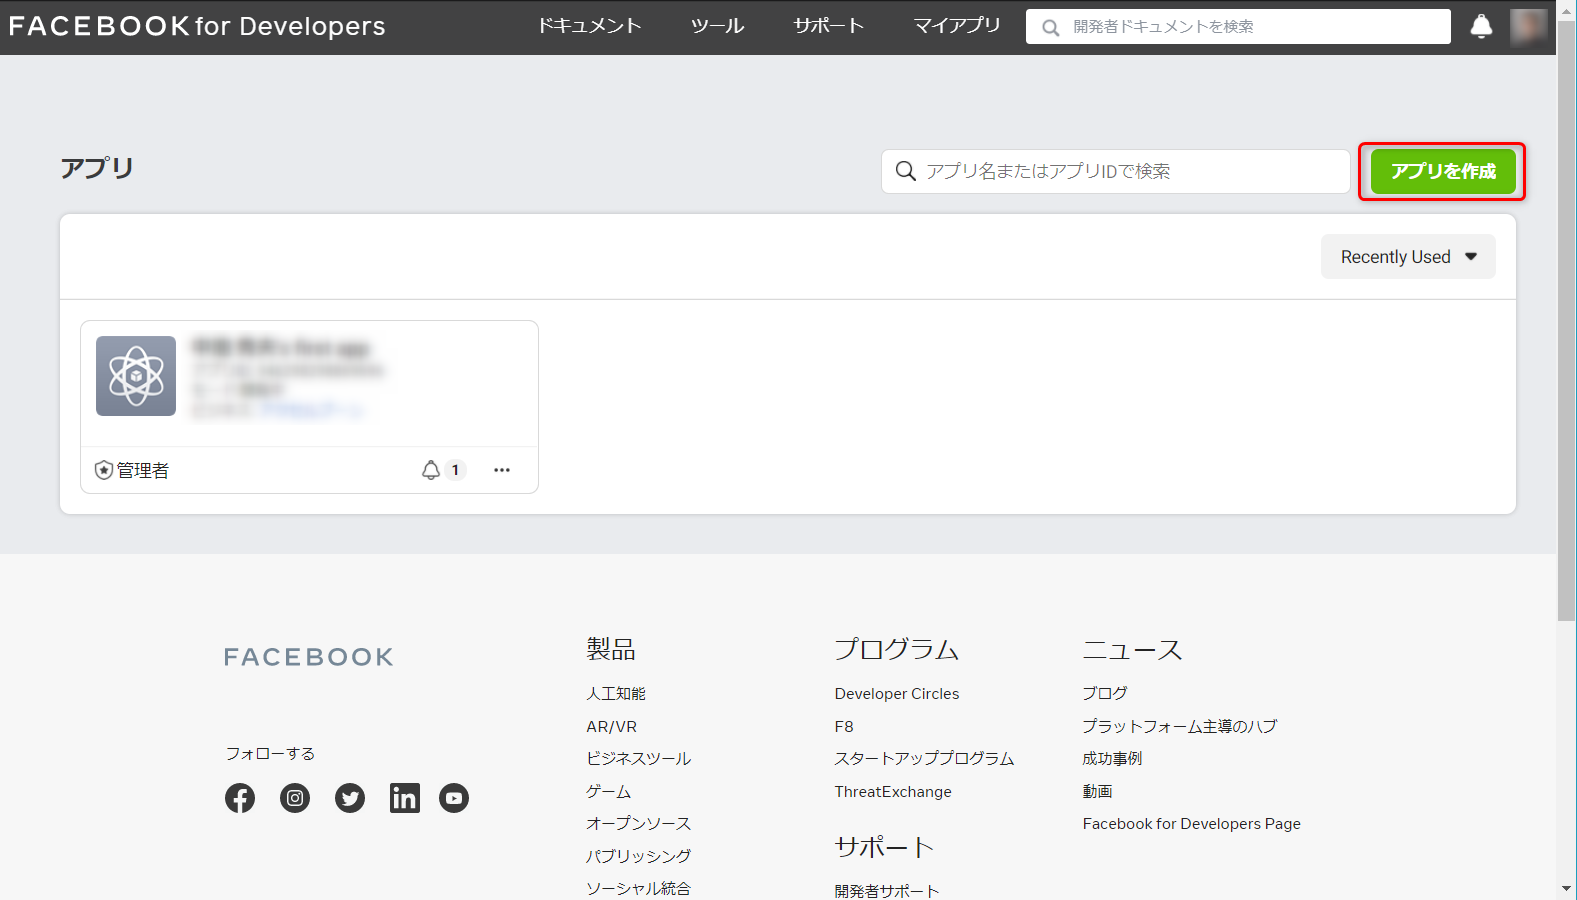
- Instagramユーザーのアクセス許可
- Instagramユーザーアクセストークン
なので、あらかじめ取得しください。
WP側でインスタのウィジェットHTMLを生成するのですが、Instagram基本表示APIへのアクセスは一日200回までなので、ajaxで返すHTMLはupdate_optionでキャッシュしておくことにします。
以下、function.phpにコピペします。
|
1 2 3 4 5 6 7 8 9 10 11 12 13 14 15 16 17 18 19 20 21 22 23 24 25 26 27 28 29 30 31 32 33 34 35 36 37 38 39 40 41 42 43 44 45 46 47 48 49 50 51 52 53 54 55 56 57 58 59 60 61 62 63 64 65 66 67 68 69 70 71 72 73 74 75 76 77 78 79 80 81 82 83 84 85 86 87 88 89 90 |
//jquery function add_my_ajax() { ?> <script> jQuery(document).ready(function($) { $.ajax({ type: 'POST', url: '<?php echo admin_url( 'admin-ajax.php'); ?>', data: { 'action' : 'view_instagram', }, success: function( response ){ $('#instagram-list').html(response); } }); return false; }); </script> <?php } add_action( 'wp_head', 'add_my_ajax', 100 ); //インスタデータの読み込みAJAX function view_instagram(){ $insta_time = get_option('insta_access_timestamp' , time());//前回APIアクセス時からの経過時間 $html = get_option('insta_html'); //https://developers.facebook.com/docs/graph-api/overview/rate-limiting //APIへのアクセスは一日200回までなので、10分に一回再読み込み if (!$html || $insta_time < time() - 600){ $html = get_insta_data(); update_option('insta_access_timestamp' , time());//キャッシュしたタイムスタンプを記録 update_option('insta_html' , $html);//HTMLをキャッシュ } echo $html; die(); } add_action( 'wp_ajax_view_instagram', 'view_instagram' ); add_action( 'wp_ajax_nopriv_view_instagram', 'view_instagram' ); //インスタAPIからデータを取ってHTML作成 function get_insta_data(){ $conn = curl_init(); // cURLセッションの初期化 curl_setopt($conn, CURLOPT_RETURNTRANSFER, true); // 実行結果を文字列で返す curl_setopt($conn,CURLOPT_SSL_VERIFYPEER, false); // サーバー証明書の検証をしない //インスタ長期アクセストークンの更新 2021/02/25追加 $access_token = get_option('insta_access_token' , "Instagramユーザーアクセストークン"); $url = "https://graph.instagram.com/refresh_access_token" . "?grant_type=ig_refresh_token" . "&access_token=$access_token"; curl_setopt($conn, CURLOPT_URL, $url); //URLの設定 $res = curl_exec($conn); //コンテンツの取得 $array_res = json_decode($res,true); if ($array_res['expires_in']<86400){//期限が24時間切ったら、あたらしいアクセストークンと交換 $access_token = $array_res['access_token']; update_option('insta_access_token' , $access_token); } //インスタ読み取り $url = "https://graph.instagram.com/me/media" . "?fields=id,permalink,media_type,media_url,caption,timestamp" . "&access_token=$access_token"; curl_setopt($conn, CURLOPT_URL, $url); //URLの設定 $res = curl_exec($conn); //コンテンツの取得 $array_res = json_decode($res,true); curl_close($conn); //cURLセッションの終了 $count = 9;//表示させたい数 $html = ""; foreach($array_res as $items){ foreach($items as $item){ $image_url = ""; if (isset($item['media_url'])){ $image_url = $item['media_url']; } elseif (isset($item['thumbnail_url'])){ //VIDEOメディアの場合 $image_url = $item['thumbnail_url']; } if ($image_url){ $html .= '<span class="insta_item"><a href="'.$item['permalink'].'" data-id="'.$item['id'].'" target="_blank" rel="noopener">'; $html .= '<img width="30%" src="'.$item['media_url'].'">'; $html .= '</a></span>'; $count -= 1; } if ($count<1){break 2;} } } return $html; } |
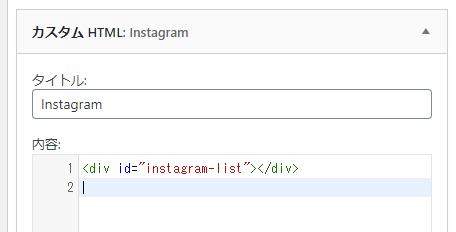
あとは、ウィジェットのカスタムHTMLあたりをつかって、書き込む要素を作ります。

こんな感じで表示されます。あとはCSSでどうにでもできますね。

わかると思いますけど、HTMLは次の部分をいじくればOK
|
1 2 3 4 5 6 |
if ($image_url){ $html .= '<span class="insta_item"><a href="'.$item['permalink'].'" data-id="'.$item['id'].'" target="_blank" rel="noopener">'; $html .= '<img width="30%" src="'.$item['media_url'].'">'; $html .= '</a></span>'; $count -= 1; } |

